Yoga for Guitarists—Tune Your Body and Mind and Improve Your Playing Experience with These Five Simple Exercises

Yoga has been around for thousands of years, and while steeped in ancient spiritual traditions, today it’s embraced by millions for its health and wellness benefits. Guitarists are taking notice too, as yoga can lead to improved skills, enhanced creativity and flow, and more enjoyable playing sessions.
The word yoga comes from the Sanskrit root yui, meaning “to yoke or unite” the body and mind. Rooted in the Buddhist, Jain, and Hindu religions, it evolved into its modern-day form emphasizing physical and mental well-being in the mid-20th century. There are many forms of yoga, such as Ashtanga, Yin, and Vinyasa, all sharing the common elements of asanas (poses) blended with pranayama (focused breathing). The goal is to calm the nervous system, release tension, stimulate healthy circulation, and improve flexibility.
Essentially, yoga harmonizes the body and mind—ideal conditions for playing guitar.
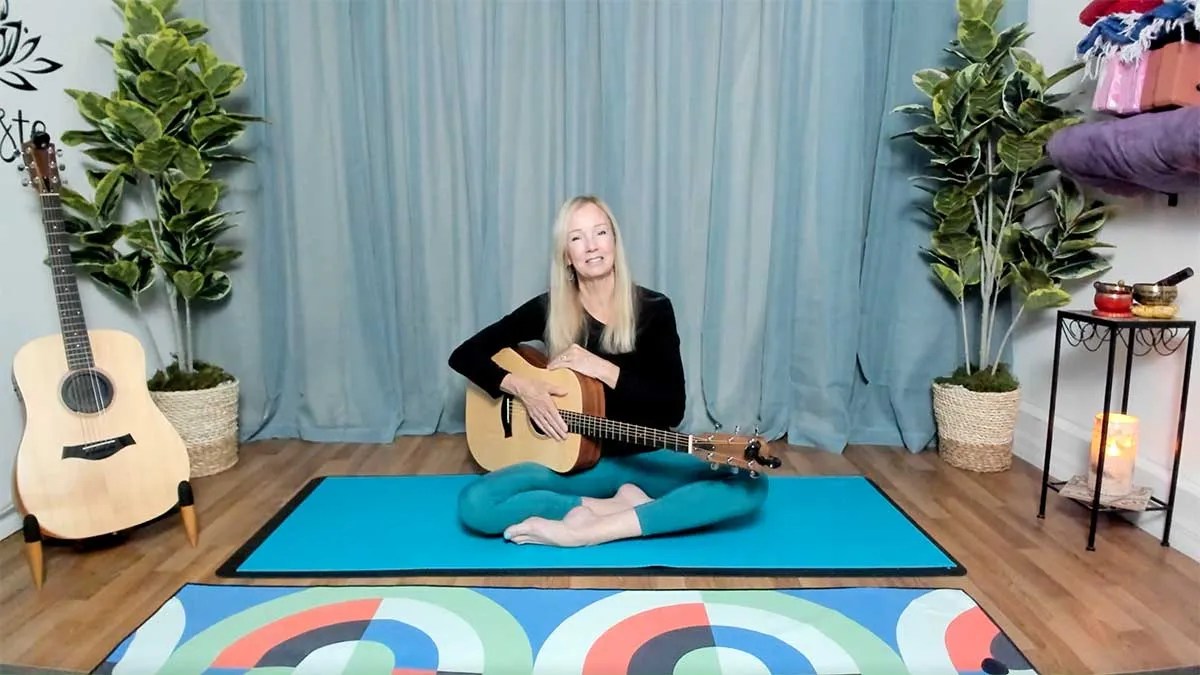
Practicing yoga is great for warming up before you play, loosening up mid-session, and winding down after. Best of all, it’s something everyone can do. You can see for yourself as you move through this gentle warm-up practice, featuring simple asanas that are beneficial to guitarists.
This brief practice focuses on three key areas: the neck and shoulders, the arms and wrists, and the hands and fingers. Take your time moving through the poses explained here, letting your breath guide you.
1. Get GroundedBegin by finding a comfortable seat—either in a chair or on the floor—with your hands resting on your legs. As you settle in for your practice, softly gaze down or close your eyes. Take a deep breath in through your nose, and exhale through your mouth. Repeat two more times, then return to your natural breathing rhythm and gently blink your eyes open.
2. Release Neck and ShouldersThe first area of focus is the neck and shoulders, where built-up tension can negatively affect your guitar playing. To help relieve that tightness, start with neck rolls. Lower your chin toward your chest, then, as you inhale, slowly roll your head toward your right shoulder and continue around to the back. As you exhale, slowly roll your head toward your left shoulder, bringing your chin back to your chest. Repeat two more times, making sure your breath and movements are partners, then reverse the direction. Inhale, roll left and back; exhale, roll right and return to your chest. Repeat two more times, then raise your head back to center.
Continue inviting movement into this area with shoulder rolls. In this asana, you’ll essentially be drawing a circle with your elbows. Start by bringing your fingertips to your shoulders, keeping your gaze forward. As you inhale, slowly roll your elbows forward and up toward the ceiling. As you exhale, continue the circle backward, returning to your starting point. Repeat four more times, remembering to breathe with your movements, then reverse the direction. Inhale, elbows backward and up; exhale, elbows forward and return to your starting point. Repeat four more times, then release your fingertips, lower your arms, and relax your shoulders.
3. Loosen the Arms and WristsNext, bring your attention to your arms and wrists, another zone where limbering asanas can help support your playing. To begin, raise your arms out in front of you, elbows straight, palms facing the floor, with your gaze forward. As you inhale, bend your wrists up, pointing your fingers toward the ceiling, as if you’re saying “whoa.” As you exhale, reverse the direction, so your fingers point toward the floor. Repeat four more times, keeping your elbows straight and breathing with your movements. Afterward, allow a small bend in your elbows and gently circle your wrists in both directions before lowering your arms.
4. Activate your Hands and FingersLastly, zero in on your hands and fingers. Not surprisingly, yoga asanas for this area can be effective in improving your musical flow. Begin this pose with your arms at your sides, bending your elbows to raise your hands up, and gazing forward. As you inhale, make tight fists with both hands. As you exhale, open your hands as wide as you can and continue stretching, as if your hands are radiant sunbursts. Repeat four times, coordinating with your breath, then gently shake out your hands before doing this asana two more times. When you’re done, lower your arms.
5. Shake It OutNow shake it all out—literally! This really loosens things up, and all you need to do is shake or move your arms and wrists freely everywhere—loosey-goosey style—as you breathe in and out. Think of it like the saying, “Dance like nobody’s watching.” Then, once you’re ready, gently relax your arms at your sides.
To close your practice, bring your hands together at your heart, palms touching, and gaze down or close your eyes. Pause and notice how you feel—pulsing or tingling sensations, perhaps an overall sense of calm and ease—just imagine how that might translate to your guitar playing. When you feel ready, take a deep breath in through your nose, then open your mouth to exhale. Repeat two more times before returning to your natural breath. Then, as is customary, slowly bow forward as you say namaste, a Sanskrit word meaning “I bow to you.”
Finally, return to an upright seat, rest your hands in your lap, and gently blink your eyes open. It’s time to enjoy the fruits of your yoga practice! Grab your guitar and tickle those strings, observing how the harmony you created in your body and mind shows up in your playing. Remember, the only tension that helps a guitarist is in the strings. For everything else, there’s yoga. Namaste.